Adding Push Templates
To add a push template, follow these steps:
- In the Push Template home page, click the Add Template button.
-
The Add Template button displays two options:
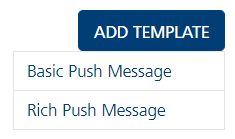
Basic Push Message
-
Select the option as Basic Push Message.
-
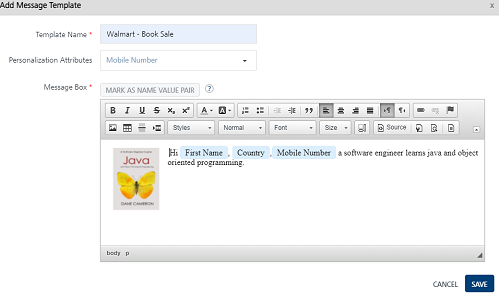
The Add Push Template window appears. Enter details for the following fields:
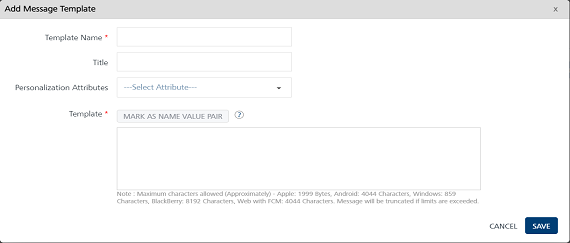
- Template Name: Enter the template name in the Template Name field.
- Template Title: Title of the template to be used.
-
Personalization Attributes: Select the attributes from the Personalization Attributes drop-down list to customize the Push Template.
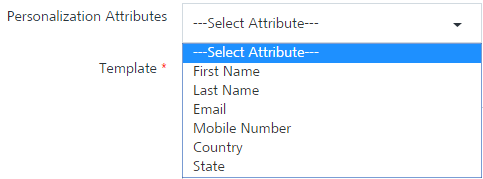
Important: The Personalization Attributes list includes all the system-defined attributes along with the user-defined attributes added under Settings > Configuration > User Attributes.
The system inserts the selected attributes at the cursor position in the add push template text box.
-
Mark as Name Value Pair: To set the Name_Value pair, enter the key words in the Add Push Template text box, and click the Mark as Name Value Pair button. The marked text becomes highlighted. The text converts to a variable.
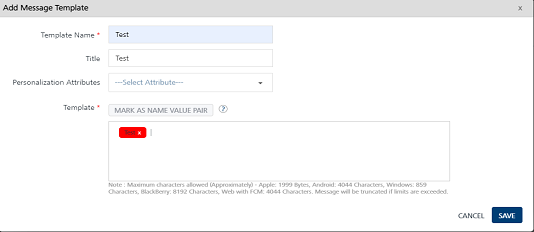
Note: Fields with a red asterisk are mandatory.
Rich Push Message
-
Select the Rich Push Message option.
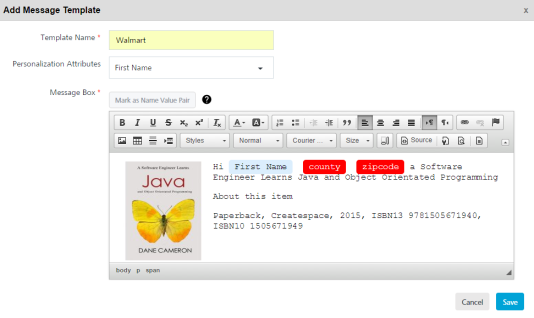
The Add Push Template window appears. Enter details for the following fields:
- Template Name: Enter the template name in the Template Name field.
-
Personalization Attributes: Select the attributes from the Personalization Attributes drop-down list to customize the Push Template.
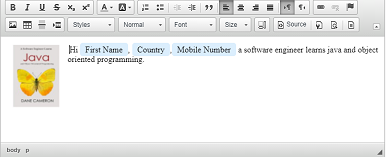
The system inserts the selected attributes at the cursor position in the template message text area.
-
Mark as Name Value Pair: To set the Name_Value pair, enter the key words in the Add Push Template text box, and click the Mark as Name Value Pair button. The marked text becomes highlighted. The text converts to a variable.
-
Rich Text Editor Tool Bar: You can use the rich text editor at the top of the message window to customize the text.
-
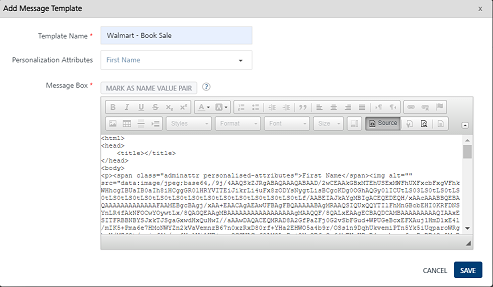
To write.html code in the rich push template, do the following:
-
Click the Source button. The HTML toolbar is disabled.
-
Enter the.html tags to customize the source code.
-
To preview the HTML output, click the Source button. The add push template displays the.html output on screen.
-
-
Click Cancel if you do not want to save the push template. The system displays the Push Template page.
-
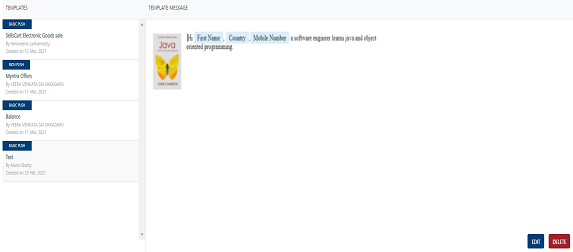
Click Save. The push template appears in the message list-view on the Templates home page. The system displays the confirmation message that the template is added successfully.