Assigning or Unassigning Groups to a Member
Based on requirement, you can assign or unassign groups to a user.
To assign or unassign groups to a user, follow these steps:
-
Click the required user name under the Name column in the list view.
The Member Details page appears.
-
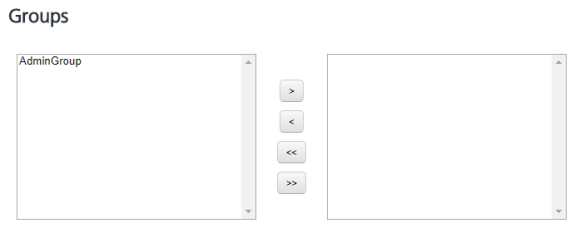
Navigate to the Groups section.
-
Select a group from the left pane, and click the right arrow to assign the selected group. You can click the double-right arrow to assign all the groups from the left pane to the member.
- Select a group from the right pane, and click the left arrow to unassign the selected group. You can click the double-right arrow to unassign all the groups from the member.
- Click the Cancel button if you do not want to assign or unassign groups to a member.
-
Click the Save button to save the updates.
The system displays the updated member in the list view with a confirmation message that the user updated successfully.